Bookspiration 2020
07/01/2020
Launching a new product: DIY Bookbinding Kits
17/03/2020When you are right in the middle of a workshop, you completely forget to take pictures. The step-by-step process, the work of the participants, the lovely decorated location… You are focused on teaching and trying not to forget any of the important stuff you want to share. Plus you are a little bit nervous, because well, even if you have done dozens of workshops, this is in our nature.
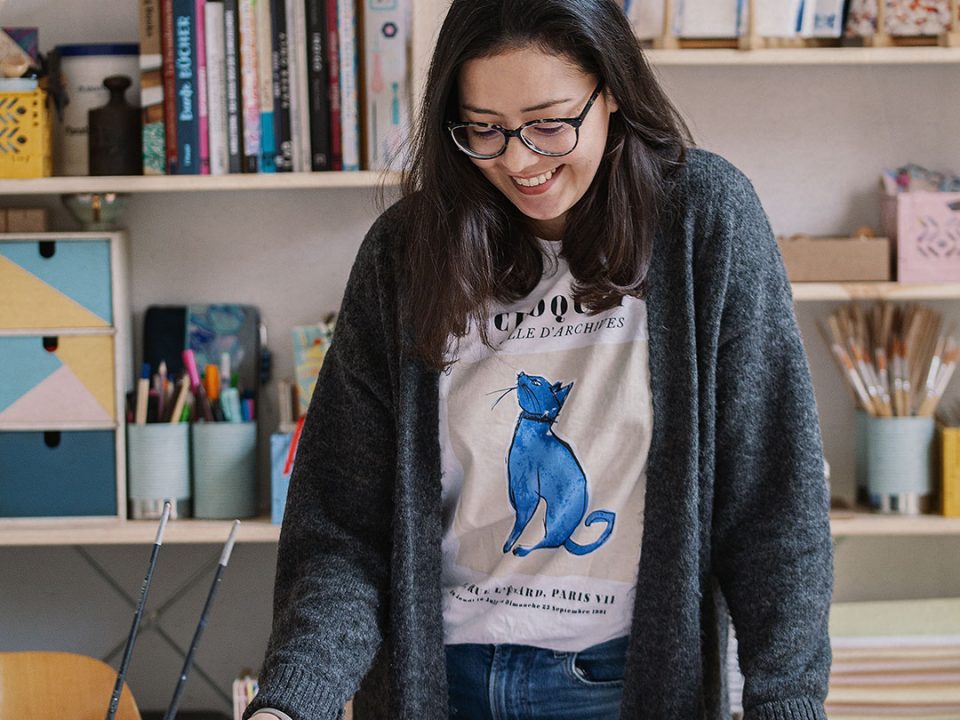
But I wanted to photograph these moments, when I start setting up the table for the workshops, getting all materials and tools in their place, welcoming the participants, teaching them step-by-step how to bind a book… so I called my friend Rensina from Yourdailyteacup and we planned a photo shooting session!
Have a look at the behind the scenes of my workshops and get to know a little more about what to expect when joining one of my creative mornings or afternoons in the city!

First things first: the preparations
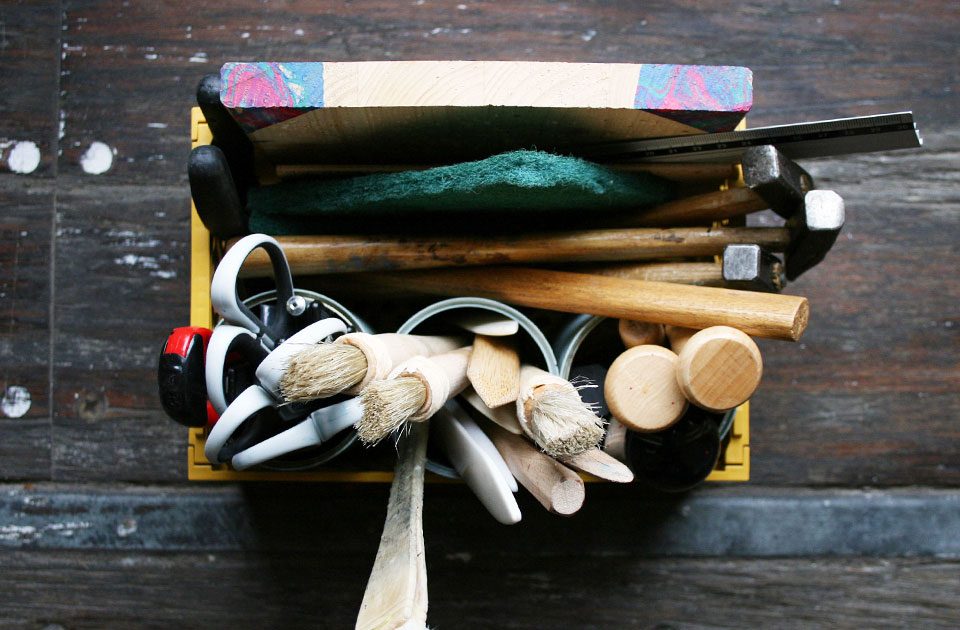
Well, of course, I have a checklist for each of my workshops. I don’t want to show up just to realize that I forgot my bookbinding tools. Organizing the photo shooting at home was quite a relief, because I didn’t have to take all the stuff with me and who knows, even with my checklist still forget something.
However, when doing a professional photo shooting there are many more things to consider than just taking the materials, like in my case, for a “set up workshop”. You want to let the pictures tell your story, talk about you and your brand. Besides, you want to create a welcoming atmosphere where the participants feel inspired and curious about what could be happening there.
Lucky me, I have just listened to one of the podcasts from Amy Porterfield, where she shares a few tips about how to organize your first professional photo shooting. So, with her checklist in hand and a bunch of ideas in my head, I created a mood board on Pinterest to help me figure out the tone and feel of my photo shooting. Not just helpful for myself, but also for Rensina, who in this case was my photographer. This way we both knew beforehand the type of pictures we wanted to shot and didn’t have to worry about it the day of the photo shooting.
If you are planning a photo shoot with other people, make sure they have the time, hour and address beforehand. Plan some extra time for improvisations and check with them on what they should wear that day (especially if you are working with a colour palette or don’t want too dark or too shiny colours in your pics).
Getting all the stuff: choose the right props and set up
After finishing my mood board, I started looking around for potential props (e.g. beautiful objects in your brand colours to decorate your set up). I am so lucky to have a craft room full of awesome stuff!
Still, I wanted a few extra props to give the set up a more stylish finishing, so I got some new plates, cups and dried flowers to complement my set up.
I was a bit worried because we wanted to shoot the pictures in my living room and I wasn’t sure whether it would look so nice. But we found out that making a real mood board on one of the walls would make it! And so I created my own mood board with my hand-marbled and hand-dyed papers and some other (paper) stuff that represents my brand. I loved it!
Since we were doing the photo shoot at home, I set up everything the night before. This gave extra time to try different setups, move stuff from here to there and work out a few alternatives for last-minute problems, like the light. We live in the north of the Netherlands and trying to make nice pics in January can be a huge challenge. Even if you have big windows as we do.
If you have time and can do it, prepare your set up with a couple of hours in advance: you will have peace of mind, believe me!
Today is the day: let’s make some nice pics and have fun with friends!
Since I was planning a “fake workshop”, I needed some “fake participants”. Lucky for me, my friends and fellow entrepreneurs from the Girlboss networking group in Groningen were there to give me a hand!
Christina from Crooked Garden, Ilse from Ilzi Creations and Jessica from Jessica Araus Illustrations joined as participants. It was very nice to have them next to me while doing the photo shooting. Being in front of a camera trying to look nice all the time for the right picture can be tired and make you anxious, but when you have friends around, you forget about it and can act natural and spontaneous – just as if it was a real workshop!
The girls wanted to make a Japanese notebook, and so we got some paper, thread and needle and we started working on it while Rensina was capturing all these little happy moments.
My boyfriend recorded a few videos and this turned out to also be a great idea! So, if you have the chance, record your photo shoot. It doesn’t need to look very professional. If you cannot afford a camera guy, just ask some friend to take a few videos with your phone. You will certainly find the right spot for it in your content plan.
Celebrate!
As with all the small wins in your business, don’t forget to celebrate this one too! Having a professional photoshoting is a big step – definitely one you have to make if you want to bring your business to the next level.
After we finished the photo shooting session, we spent some time together drinking tea (Morning Sunrise, my favourite green tea from Yourdailyteacup) and eating a homemade banana bread I baked myself: yes, I did it!
This was such a nice experience I totally want to repeat! Keep an eye on my social media channels, because you will be seeing more beautiful pictures taken from this photo shooting session there.
Are you now in the mood for a craft workshop? Check my upcoming workshops here and book your next creative adventure with Indigo Craft Room!
Happy day,
Karen


