How-To: Colour Palettes For Marbling Projects
13/04/2021Sometimes you have to do something completely different from what you are used to. Sometimes you have to create out of your comfort zone. The last creative project I worked on wasn’t completely new to me. But it was definitely out of my comfort zone. I joined the Post-Kunst-Werk summer project and the assignment this time was to make your very own paper from scratch. I have tried making pulp for paper before and even joined a workshop by Korau in the Netherlands. But this was some time ago and I have almost forgotten everything I learned there. In the beginning, it was very frustrating and I was about to give up after an hour of trial and error and not a single sheet of paper. But somehow I managed to figure out the trick and from that moment on, I had a lot of fun!
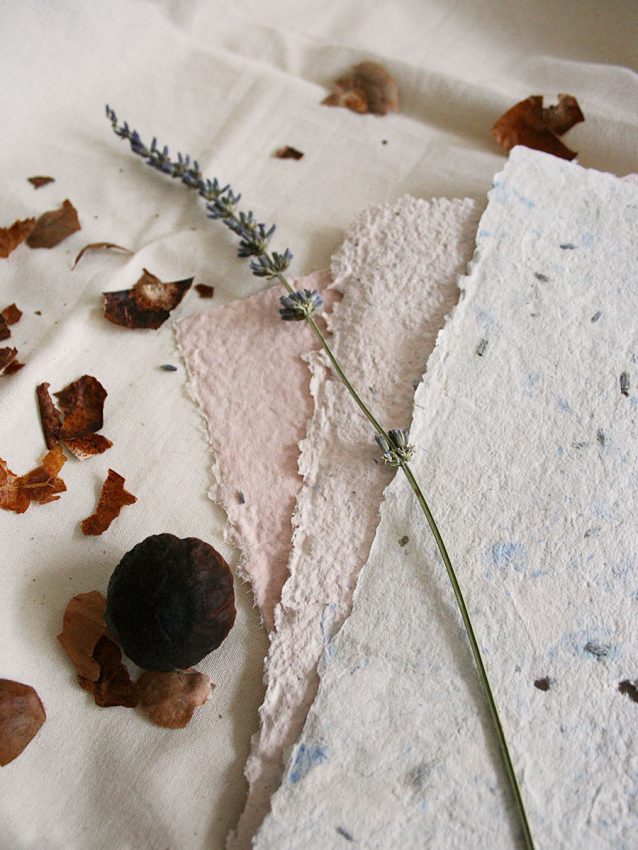
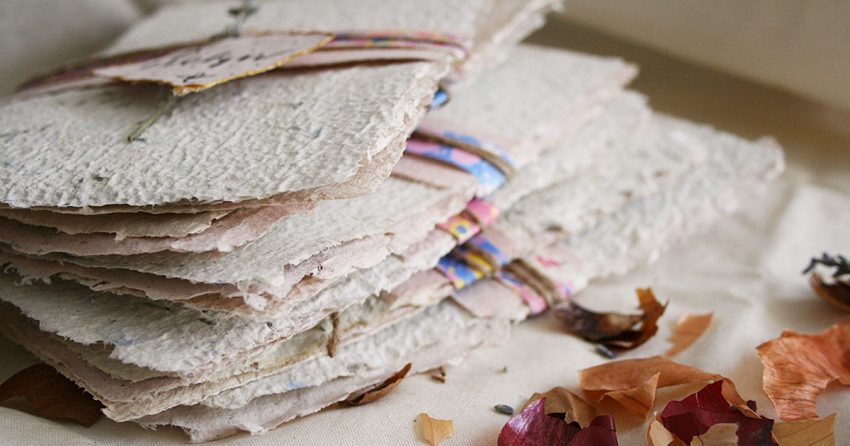
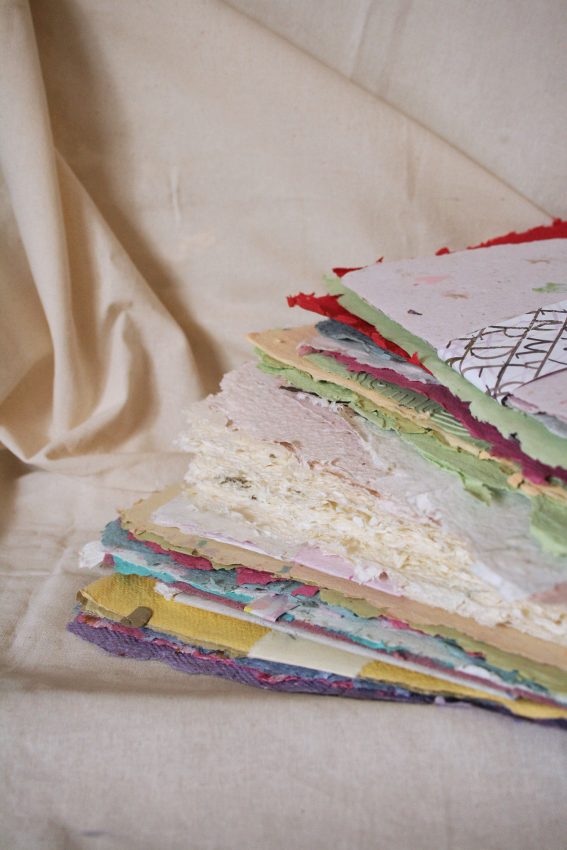
I named my papers Lavender Blue Lagoon, Avocado Smoothie and Onion Tears.
-
How to make pulp – the base for your handmade paper
There are hundreds of recipes out there that tell you about how to mix your own pulp, the base of the paper. I tried the easiest way by making pulp out of “old paper”. You can use anything from newspapers, old books, envelopes to print paper and more. It’s recommendable to separate the paper by colour and keep in mind that newspapers usually give a greyish pulp.
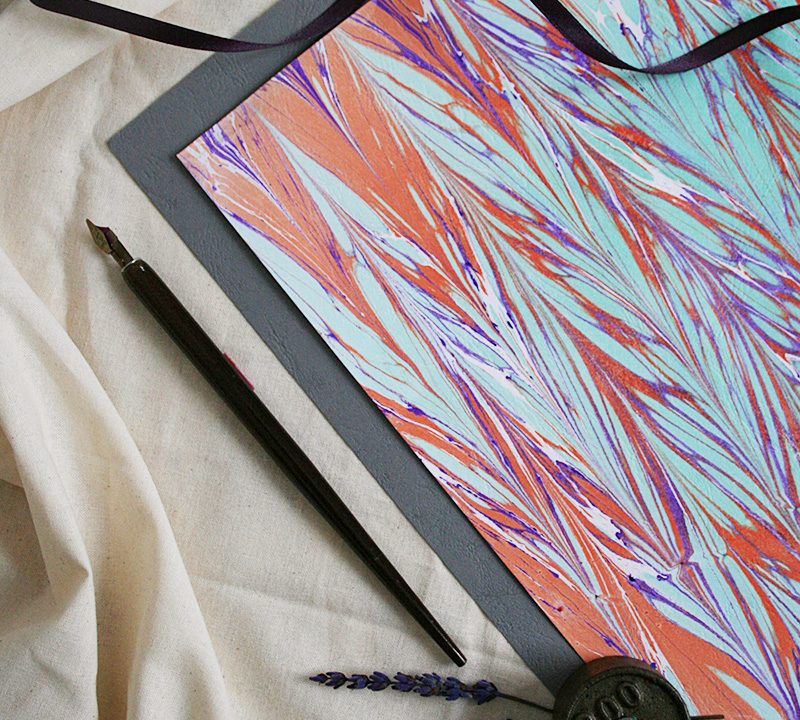
For my paper experiment, I used leftovers of hand-marbled paper and white plain paper from dismissed notebooks. Later I used flyers from Indigo Craft Room that are no longer up-to-date. It felt good to give these papers a new life, transforming them into pulp.
The most difficult part is finding out the right proportions of paper and water needed for mixing the pulp. According to the recipe I intended to follow, you should mix 2 parts of paper with 8 parts of water. To be honest… I went with the flow. I found out that depending on the paper the pulp was thinner or thicker, and so I accordingly added more or less water. Also depending on the tray or container that you are using and the size of your frame, you would need more or less water. So keep in mind all this information and play around until you find out the proportions that work for your own pulp mix.
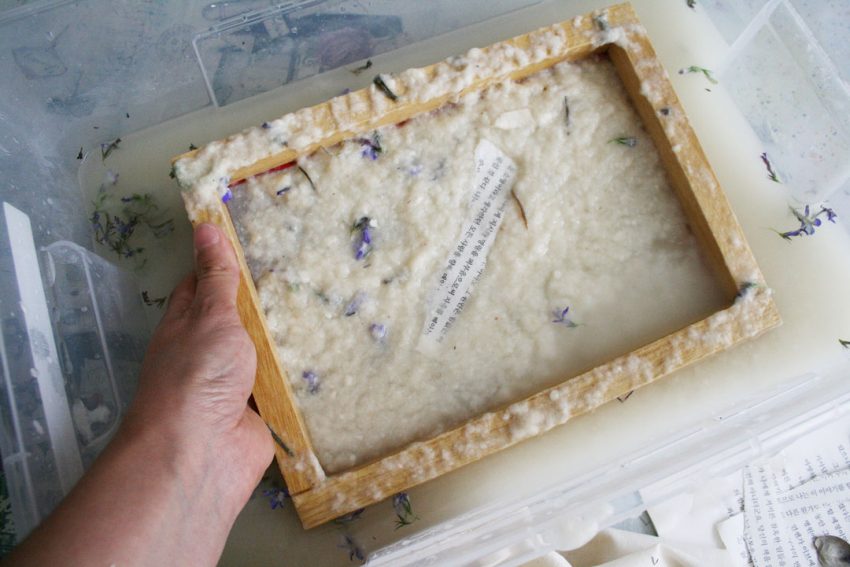
A message in the paper: hide a secret message for the recipient in your handmade paper.
-
How to add colour to the pulp – natural dyes
I love natural dyes! Ever since I joined a natural dye workshop a couple of years ago, I see plants and vegetables with new eyes. An onion is no longer an extra ingredient in the kitchen, but an amazing natural material to provide colour to a range of surfaces, like paper and fabric. I collect mostly onion peels and avocado stones. Both ingredients are part of our grocery list and you can store them easily.
Of course, you can use natural dyes to add colour to your pulp. I made a dye of onion peels to turn white into a soft yellow, and an avocado dye for a soft pink. The recipes below are just an indication and are only suitable for experimenting with natural dyes and pulp. If you want to dye clothes, you might need to follow other recipes in order to make sure that the colours don’t wash off.
-
Easy-peasy onion dye
- 250 ml water
- a handful of onion peels (you don’t necessarily have to separate them by colour)
- a pot
- a spoon
- a sieve
Warm the water on the stove and add the onion peels. Let them simmer for about half an hour. Keep the stove temperature low and stir with a spoon if necessary. Use a sieve to filter out the onion peels and let the dye cool down.
-
Easy-peasy avocado dye
-
- 250 ml water
- 3 avocado stones
- baking soda
- a pot
- a spoon and a knife
- a sieve
Carefully cut the avocado stones into four pieces each. Warm the water on the stove and add the avocado stones. Add half a teaspoon of baking soda (this helps to extract the colour). Let it simmer for about half an hour. Keep the stove temperature low and stir with a spoon if necessary. Use a sieve to filter out the avocado stones and let the dye cool down.
Once the dye has cooled down, you can carefully add it to your pulp mix.
-
How to decorate handmade paper
If you want to go a step further and personalize your handmade paper even more, you can add other elements to the pulp – either before or after making the paper sheets. Many people like to use dried flowers and plants for decorating handmade paper. You can also use tea or coffee grounds, thread, and again paper!
I want to reuse natural materials as much as possible, so I opted for dried lavender from my garden. Later on, for another paper test, I used dried eucalyptus and lobelia (again from our small garden). A participant from the same Kunst-Werk-Blog project gave me the idea to use a piece of paper to “hide” in the handmade paper. As you see, there are many possibilities: look around and see what materials or objects you have at home to jazz up your handmade paper.
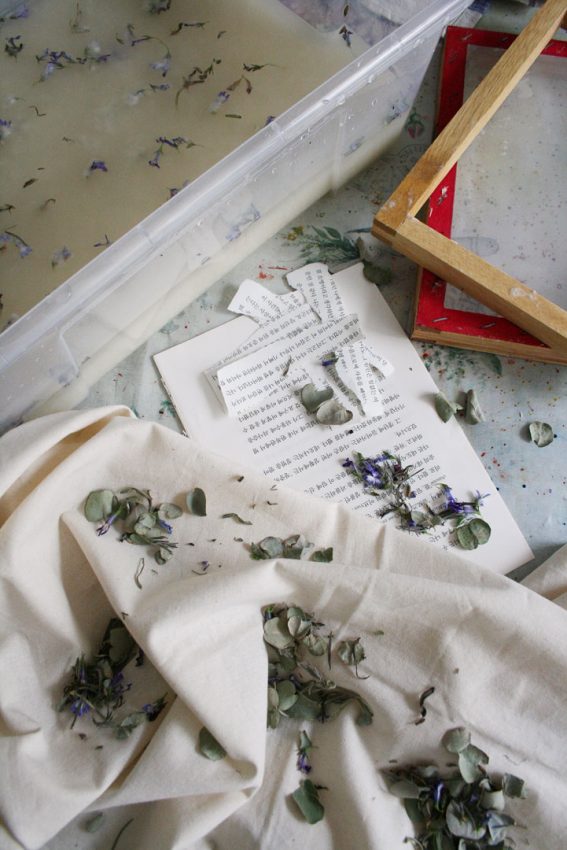
Dried lavender, eucalyptus, and even your garden waste can give your handmade paper a personal and eco-friendly touch.
-
My tips & tricks for making paper
I cannot say I’m now an expert in making paper from scratch, but I’ve learned a few helpful tips and tricks I would like to share with you.
-
- Take your time and be patient: making pulp will require that you start your project preparations with enough time in advance. Preferably, you will leave the old paper in water overnight. This way, you won’t have too many troubles when blending the mix for the pulp.
- Protect your workspace and make sure to have a wet and dry area: there will be water everywhere! So, you want to protect your furniture and floor. If you prefer, you can work outside. But if you don’t have the chance, any room will make it. Put some plastic bags and towels on the floor and use a clothesline to hang the papers to dry.
- Use different materials for the pulp and play with the textures: even if you decide to go for the easiest way of making paper using old paper, you can still play with the textures by adding extra ingredients or materials and leaving lumps. Try not to blend the mix to a fine pulp but leave some lumps and see what happens!
I was very happy with the outcome of this project, and I certainly will keep experimenting and making paper every now and then. One of my experiments on the to-do list is testing how suitable this handmade paper is for marbling. But this is a topic for another blog post. For now, I want to leave you with a few extra impressions and recommend you to check out the hashtag #sommerpost2021 on Instagram for more insights from other participants.
Happy crafting,
Karen
