Bookbinding tools and where to find them
11/02/2020
Bookbinding Tools – Live on Instagram
10/04/2020When I started Indigo Craft Room, my main focus was to design a unique and beautiful stationery collection as a way to share my creativity and my passion for craft techniques like marbling, Shibori dye and bookbinding.
Soon I realized (and heard quite often), that people were looking for something else, next to a handy and beautifully made notebook. They wanted to know how it was made. Even more, they wanted to learn how to make it themselves.
No matter how long you have been in business, especially when you are an entrepreneur, coming up with new product ideas that help your customers to solve a day-to-day problem and secure you a new revenue source is a tricky task. Is this already on the market? Can I do something different, something better? Would my customers like it? How much would they be willing to pay for it? How can I test it without going bankrupt? If you have ever done some renovations at home, you can probably understand this kind of hesitation each big project brings with it.
Is there really a perfect moment for launching a new product?
I mean, don’t do couples ask themselves constantly when would be the right moment to have a baby? I can imagine launching a new product is the equivalent to “planning to have a baby”. But sometimes, no matter how much do you love planning (and checklists and excel sheets), you have to stop planning and just do it.
It took some time (more than I’d like to admit), but I did it: I created my own DIY Bookbinding Kits and launched them!
Where did the idea come from?
As I pointed out before, people kept asking me how I make my books and if I could teach them the technique. My first approach to this customer request was to organize bookbinding workshops, where I teach the basic techniques and guide step-by-step through all kinds of book projects. Even though this has become one my main sources of income, professional fulfilment and gratitude, I cannot multiply myself, travel across the country and abroad 24/7 to share my bookbinding knowledge with all the people that follow my work.
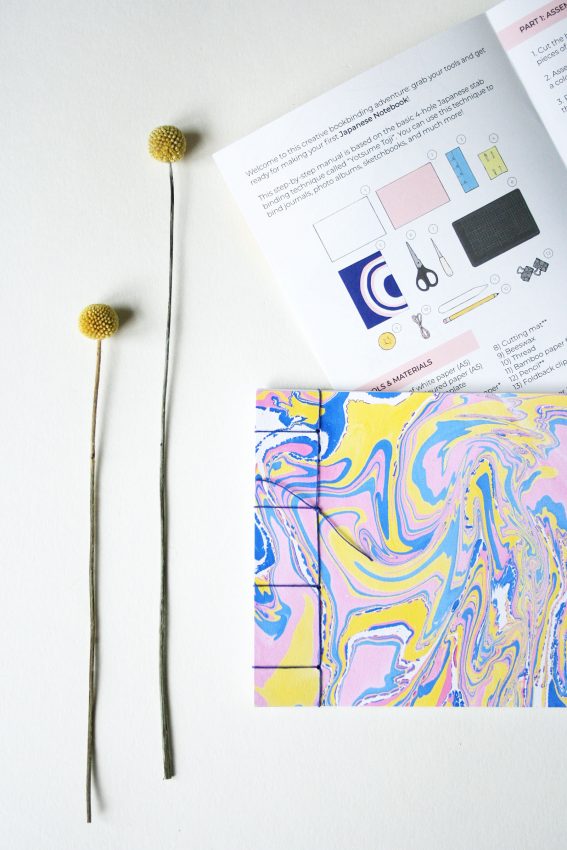
So I decided to gather that knowledge in a step-by-step manual and video tutorial, put all the materials and tools needed to make a book together and pack them into a paper box that fits in your mailbox!
It has to be easy-peasy
When coming up with the product itself the most important thing for me was that it needed to be super easy-peasy for my customers:
- it has to be easy to understand: have a clear start and endpoint
- it has to be stress-free: save time and stress, because no need for searching and decision making
- it has to bring joy and fulfilment: from the moment a customer opens the box to the finished project
If you cannot do it, ask for help
If I wanted my new brand product to be what I pictured in my mind, I needed to ask someone else for help. I love to be my one-woman-business and take care of (almost) everything at Indigo Craft Room. But there are just things that I cannot do (or prefer not to).
One of the things I cannot do is illustrating. Not even the more abstract shapes, my talents are in other fields. So I took a look around and asked myself who could help me to draw step-by-step clear water illustrations that supported my manuals and helped my customers in the making process. I called my friend and creative entrepreneur fellow Jessica from Jessica Araus Illustrations. After a couple of coffees, we figured out how many illustrations we would need and estimated a deadline.
How-to outsource a part of your project and work with a freelancer
This was the first project of such complexity for both of us, me and Jessica. Spoiler: it wasn’t 100% mistake-free, but we accomplished it! So, if you are an entrepreneur or you are just curious about how to manage such a project when working with another professional, here are a few tips:
- have a “get-to-know” meeting, on- or offline, to figure out if you connect and what it needs from both of you to make this project happen
- send a briefing, e.g. I made a mood board on Pinterest and sent Jessica a document with the colours and fonts I wanted for the illustrations
- set deadlines: and I mean more than one! We set deadlines for the first drafts, a first and second colour test and the final project. We didn’t know exactly how much time it will take us, because this was the first time we worked on such a project. So we ended up extending some deadlines. Make sure you have enough time before your launch date for any unforeseen events
- agree on a budget and payment deadlines: make sure each of you knows exactly how much this project will cost and if you will need to make a payment in advance

Working with Jessica was very smooth, and we both learned so much from this collaboration! You can see more of her work and ask for a custom made illustration here.
Once I had the final illustrations it was time for the layout of the manual. This could be a step that you could outsource as well if you are not skilled in design software or you just prefer to invest your time in other steps of the making process. I do know some design basics and I did the layout myself with Adobe InDesign.
Slow, sustainable and limited production
As a one-woman-business I am involved in all steps of the production, from cutting and marbling the papers to assembling the packaging boxes and printing the shipping labels. It’s all made by myself!
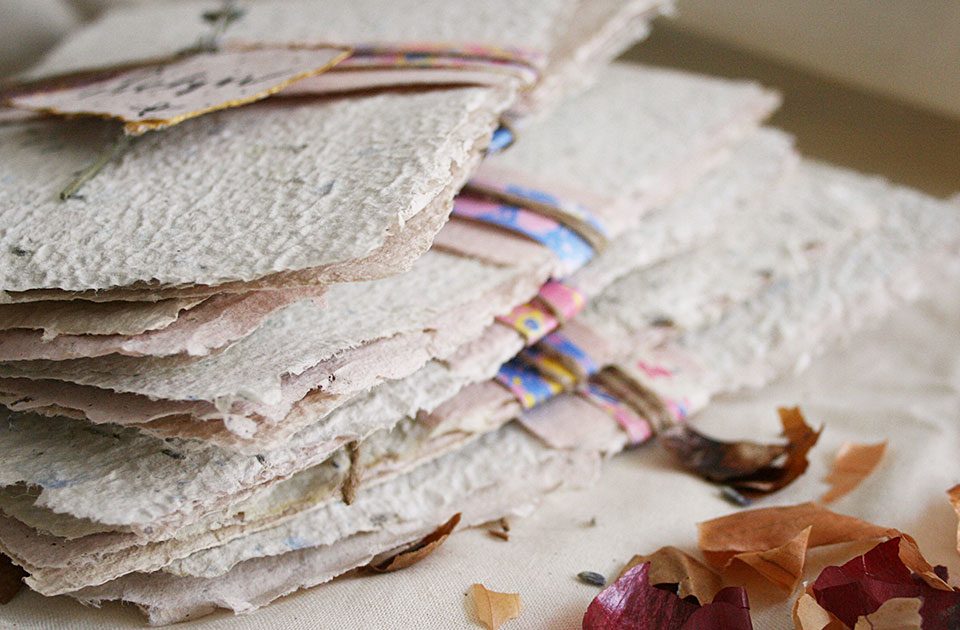
It’s important for me to keep the production slow, sustainable and limited. I really don’t want to outsource this part of the project because it’s the most creative and what makes these DIY Bookbinding Kits one-of-a-kind. Furthermore, by producing just a limited stock (or made to order) of DIY Kits I can guarantee that no resources will be wasted: from the step-by-step manuals printed in FSC certified paper to the high-quality bookbinding tools and materials included in each kit.
Eco-friendly and quality materials: my stress-free alternative for the modern creative
The day just has 24 hours and we should spend each one of them on what really matters. There is nothing more demotivating than being ready to start a new project and realizing that you are missing the right tools or materials. This is like standing in the kitchen wondering if you can make it on time to the next supermarket because you are missing that special ingredient for your meal.
It’s awesome that we have so many options out there nowadays: so many kinds of papers, threads, bookbinding tools. Never has it been so easy and at the same time so stressing to get access to these kinds of products. That’s why I wanted to save my customers time and headaches by putting all the materials and tools together in a box. Learning a new craft technique requires all your attention and the more time and effort you can spend on the actual learning process, the better.
I did the research and the testing so you can focus on what really matters: learning step-by-step how to make your own books. Rest assured that I have put all my effort on providing you with the best tools in the market and the most beautiful handmade papers!
You have the choice
I designed two DIY Bookbinding Kits – they are both complementary, as they will give you a basic understanding of different techniques applied in traditional bookbinding.
While the Origami Pop up Books DIY Kits focuses on geometrical paper structures and the work with hardcovers, the Japanese DIY Bookbinding Kits brings you closer to the traditional way of stitch bookbinding, a minimalist and sustainable way of creating your own notebooks and sketchbooks.
Check out the trailers I posted on my Youtube Channel for more insights here.
I would love to follow your learning and making process, tag me on Instagram with #indigocraftroom or share your experience via e-mail.
Happy crafting,
Karen


