Why you should join a creative workshop
28/09/2019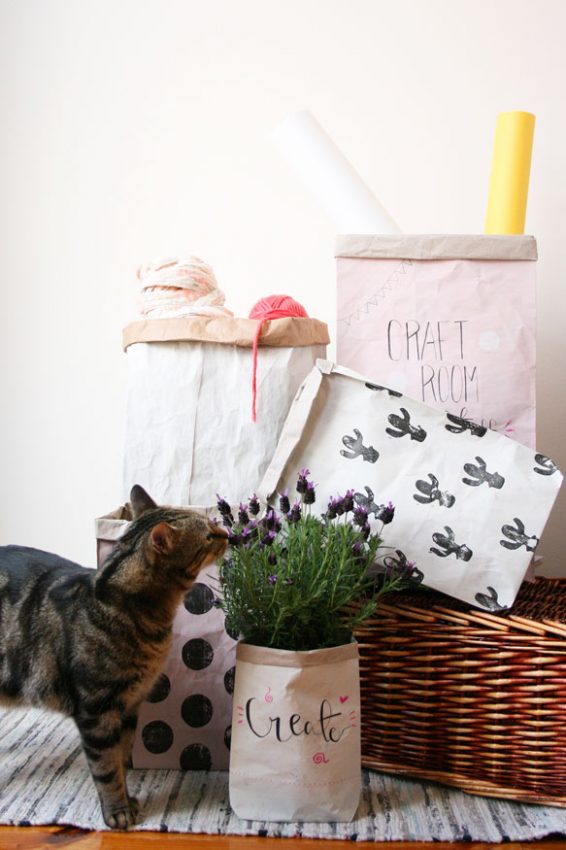
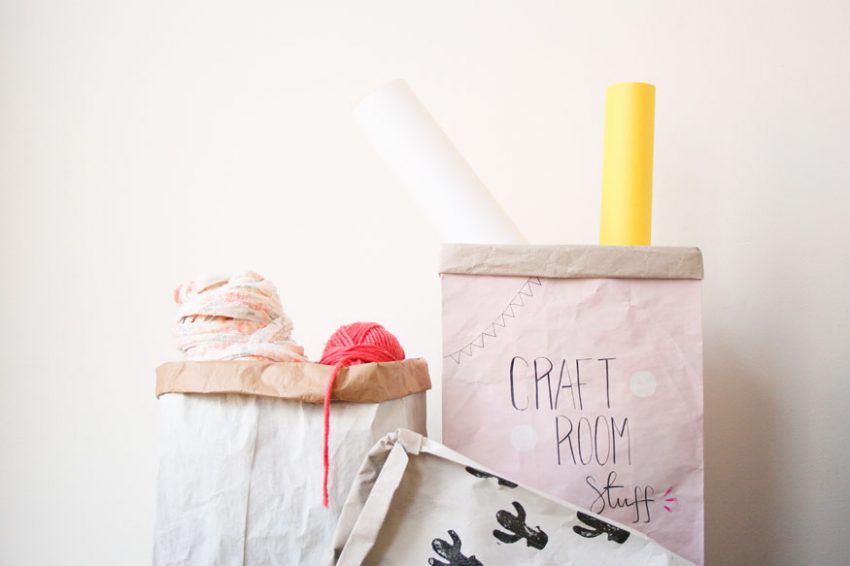
Anyone looking for a nice storage idea for their office or craft room? How about these beautiful and eco-friendly décor paper bags?
One of the less nice things of buying on the Internet is the unnecessary extra packaging. I experience this every now and then when I order supplies for my craft room: dozens of packaging paper that usually end in the trash. I keep them whenever I can and reuse them to protect my work table when I am marbling or hand dyeing papers for my books. However, I actually don’t need that much paper to cover my desk and most of the time these papers are just taking up a huge storage space without having a real function.
During one of my searches for inspiration on Pinterest, I came across this video tutorial and my craft alarm just went off. So I did it my own way and photographed the step-by-step for you. I hope I can inspire you as well, just like that other tutorial inspired me, and you can try it at home soon: tag me on Instagram with the hashtag #beautifulhandmadeimperfection to follow your creations!
STEP-BY-STEP
1. Get your materials ready
This is an upcycling project and therefore we will be using materials that most of us already have at home. So start looking at home or ask your neighbours, they probably got some extra packaging paper from their last Amazon order.
- Kraft paper e.g. from old packaging: the size of the paper will depend on your storage needs. I made 3 different sizes: for the bigger bag I used a piece of paper 100 x 70 cm, for the medium 70 x 50 cm and for the smaller 50 x 50 cm, although I ended cutting it back.
- Chalk Paint La Pajarita in your favourite colours: this is a great project for Chalk Paint leftovers, since you won’t need too much paint to cover the surface of the paper
- Brush: you can also use a paint roller or a sponge
- Scissors, glue stick, markers, stamps and anything else to decorate your bags

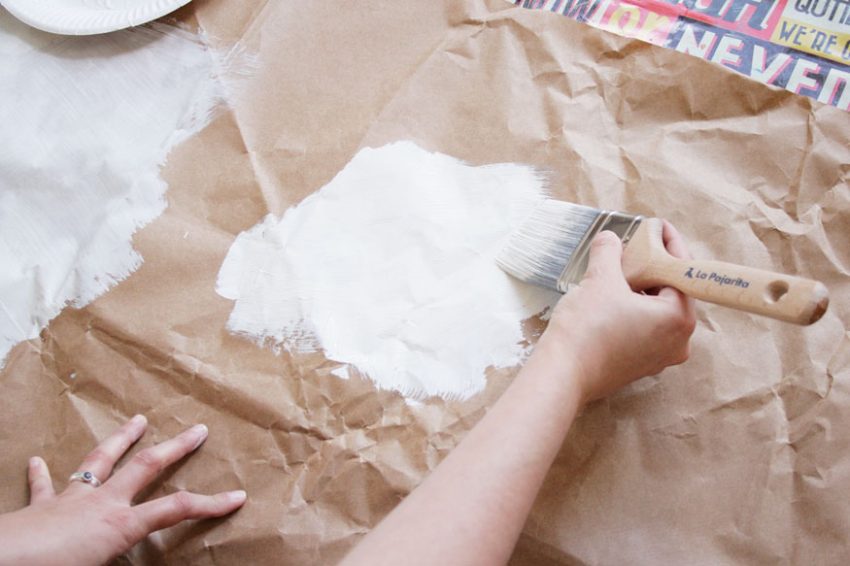
2. Paint the paper with your favourite colour of Chalk Paint La Pajarita
- Paint just one side of the paper and let it dry for at least 30 minutes or longer if necessary
- One coat should be enough – I like that the bags have a “used look”. Give quick brushe strokes in different directions to achieve this look
- If you want, you can of course experiment and combine different colours
3. Paste the paper and assemble a bag
Once the paper is dried it’s time for making our bag. Grab your glue stick and get to work!
- First apply enough glue on the left side of the paper and paste it over the right side: this will determine the width of the bag
- Close the bottom of the bag: fold the corners to the inside to create 2 triangles (see the picture below on the left). Then fold each triangle across the center, apply enough glue around and paste one side of the paper over the other (see the image below on the right)

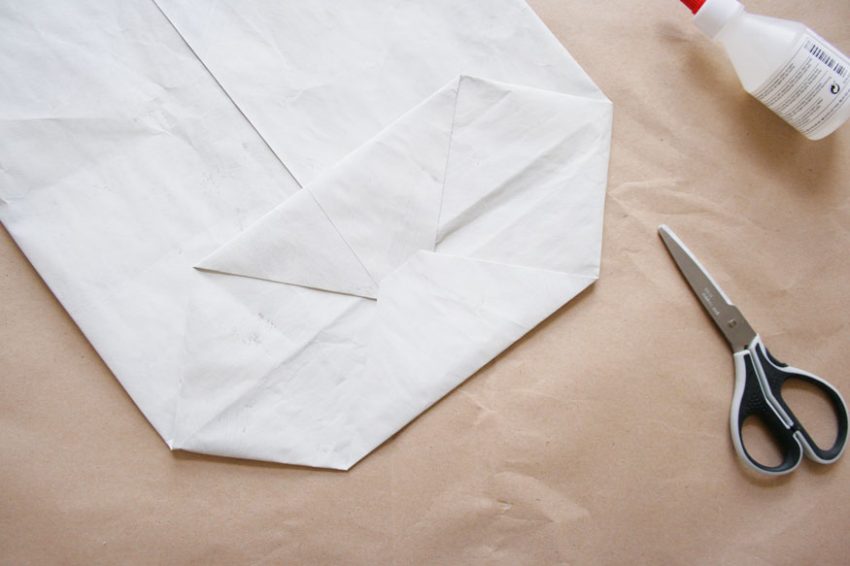
4. Make your bag ready
- Fold both sides of the bag about 3 – 5 cm (like shown on the picture below), turn the paper and repeat
- Decorate your bag: you can use markers to do some lettering and write a powerful quote, or stamp a cool pattern with handmade stamps made out of a piece of foam. I used an old stamp I had, to create the cactus pattern and made a new stamp for the circle shape with a piece of foam
- Let it dry well
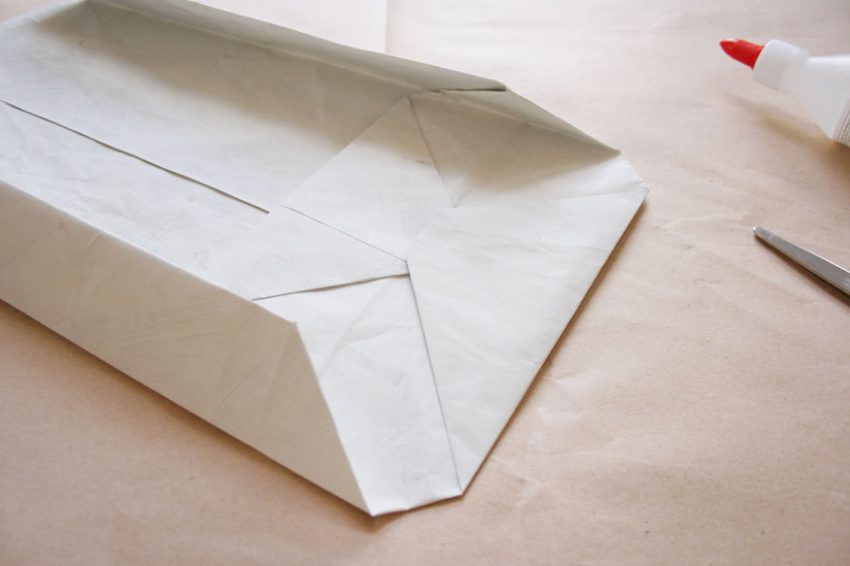
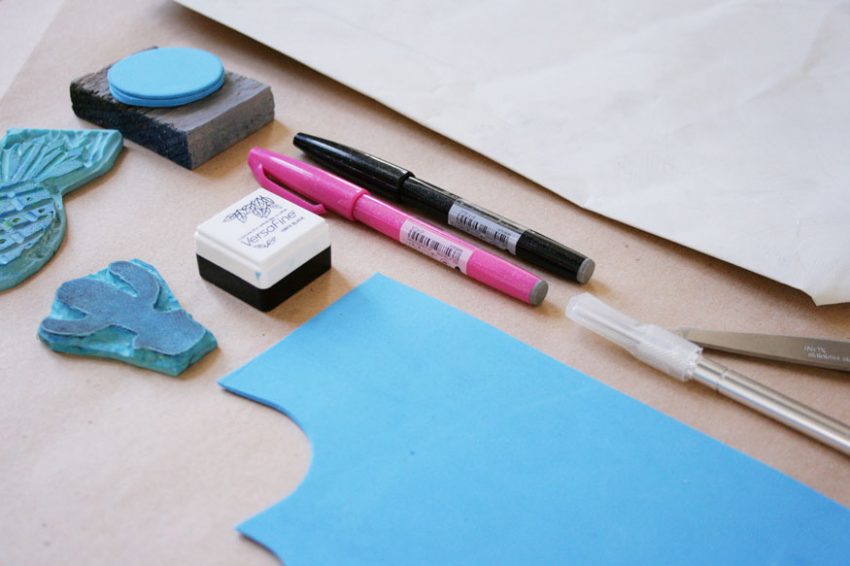
5. Finish assembling your bag and place it on your favourite corner at home
I am not gonna lie you, this can be the most difficult part of this tutorial. Your paper bag is ready and now it’s time to fold the top of the bag. It’s alright to be afraid that the paper will break. Yes, it happened to me too (see the top corner of the cactus bag).
- Carefully fold the paper from the inside to the outside on the top of the bag, just as you would roll up your sleeves
- Take your time and don’t rush this process, it works better if you try to roll up all 4 sides of the paper at the same time
We did it! Make as many bags as you want or need and try different combinations of sizes, colours and patterns. The more variations, the better!
